Inside the Firebound Labyrinth of Dodongo’s Cavern
Nov-08-2026
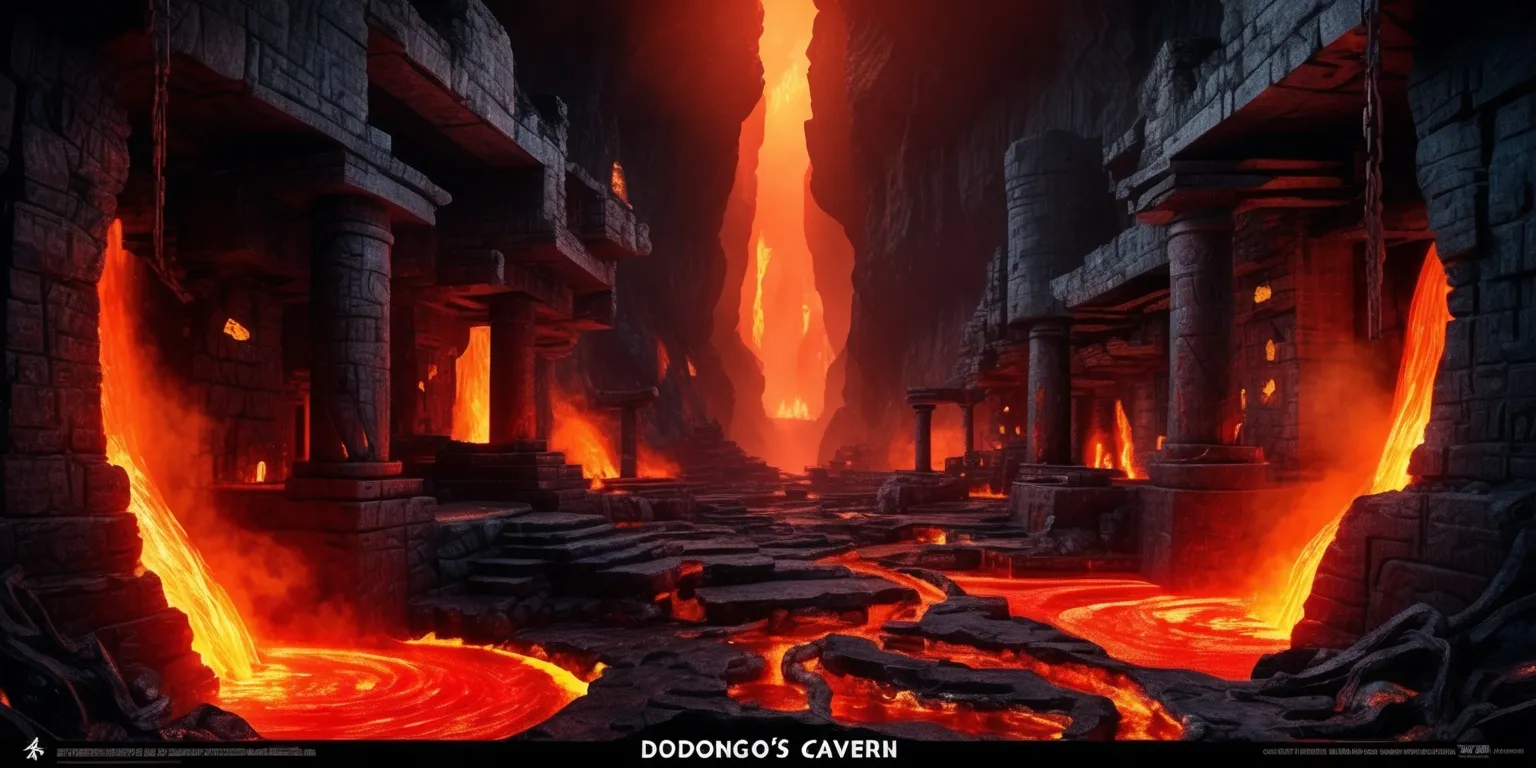
Dodongo’s Cavern in The Legend of Zelda: Ocarina of Time stands as one of those games that immediately feels dangerous, memorable, and unmistakably Zelda. From the moment Link steps inside, the dungeon leans into heat, pressure, and constant movement, asking players to notice the environment as much as the enemies. Lava pools, narrow ledges, hidden switches, and walls that beg for a well-placed bomb all work together to create a space that is part puzzle box, part combat trial. The dungeon also arrives at a point in the adventure where players are expected to start thinking more actively about inventory, timing, and positioning, making it a strong early example of how the game teaches through design rather than instruction.
The cavern’s first impression
The entrance to Dodongo’s Cavern sets the tone before the player has even taken a proper step forward. The blocked doorway is an immediate invitation to observe the room and interact with what is already present. Bomb Flowers near the entry point are not just decorative resources; they are the first lesson in how the dungeon wants to be approached. The design encourages experimentation without feeling obscure, and that balance is part of what makes the cavern so effective. Once the obstruction is removed, the player is led into a place where every path seems to be built with intention, where movement is never simple, and where danger is often visible before it becomes immediate.
Preparing for the heat ahead
Before entering, it helps to arrive with recovery items, a strong sense of timing, and a fire-resistant shield. The dungeon’s enemies and hazards are built around fire, explosive surprises, and cramped reaction windows, so preparation changes the entire experience. Healing items like Lon Lon Milk are especially valuable because the forthcoming encounters can drain hearts quickly if the player gets careless. Deku Seeds, a Sword, Bombs, and a shield all contribute to a smoother run. What makes this preparation interesting is that it is not just a list of required gear; it is a preview of the dungeon’s identity. Dodongo’s Cavern is tuned to reward practical planning, and entering with the right supplies makes each room feel less like an ordeal of survival and more like a sequence of solvable challenges.
The opening puzzle with Bomb Flowers
One of the dungeon’s earliest strengths is how naturally it teaches the use of Bomb Flowers. The player has to pick one up, carry it across the room, and time the throw to clear the blocked passage. It sounds simple, but the act of moving explosives through a dangerous space turns an ordinary opening into a small event. The game asks the player to think about distance, timing, and safe positioning right away. That lesson continues throughout the cavern, where Bomb Flowers become tools for removing obstacles, revealing hidden chests, dealing with enemies, and shaping the route forward. Rather than introducing bombs through a text prompt, the dungeon builds the idea through repetition and use, making the mechanic feel intuitive and memorable.
Movement over lava and shifting routes
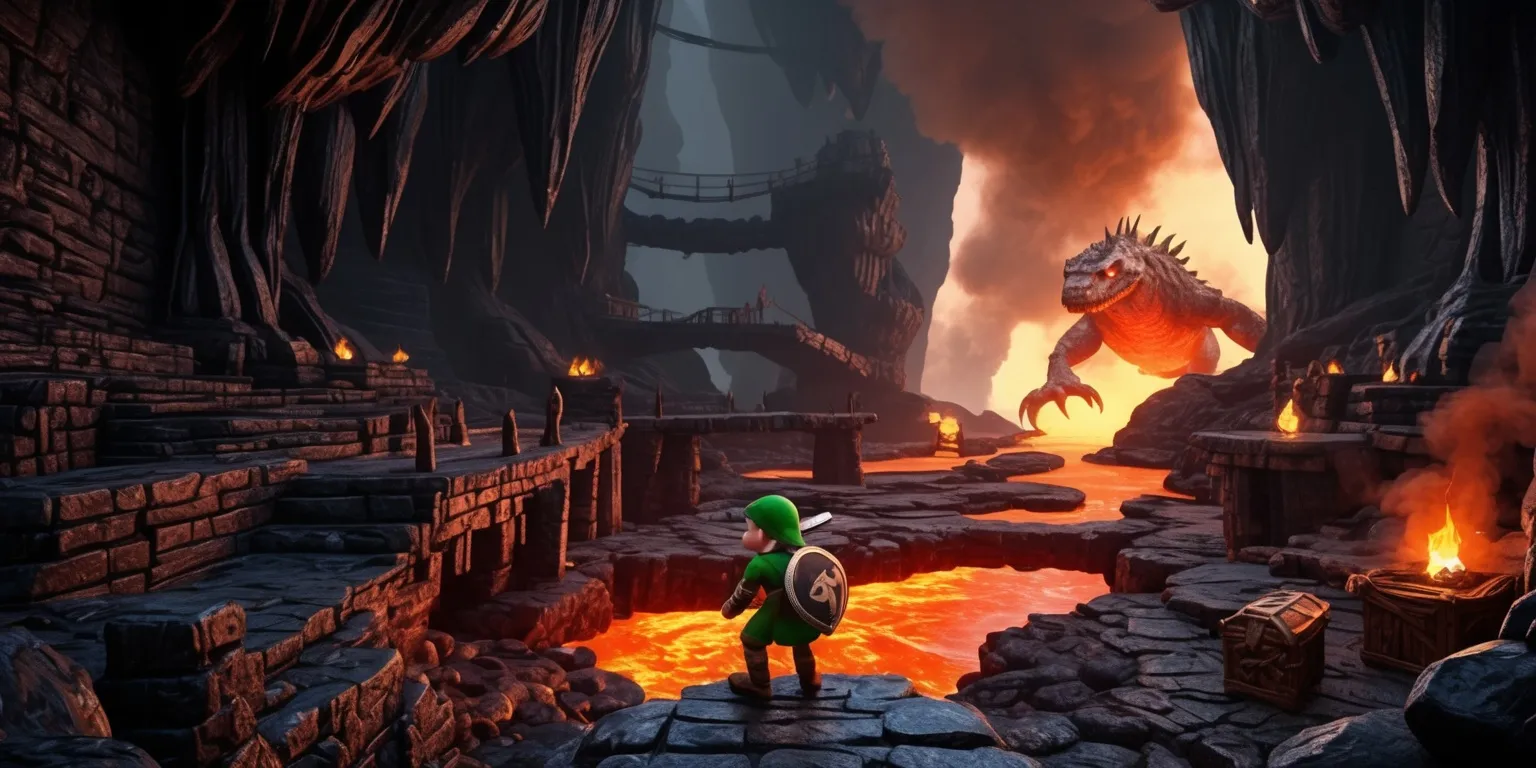
Dodongo’s Cavern is defined by motion. Platforms rise, lower, and drift over lava, and the player is often asked to wait just long enough for the correct surface to appear. This creates an underlying rhythm that runs through the whole dungeon, one that mixes patience with quick action. The lava itself is not merely background scenery; it shapes where Link can stand, how long he can linger, and what routes are viable at any given moment. Crossing these spaces often involves watching a platform’s cycle, planning a jump, and trusting the setup. This gives the dungeon an almost mechanical feel, as though the cavern is alive and constantly rearranging its own interior to keep the player guessing.
The first enemies and their behavior
The enemy lineup inside the cavern adds variety to the dungeon’s pace. Beamos statues watch from key spots and force the player to stay alert while navigating. Dodongo Larvae emerge from the ground and can be handled with the Sword, though their exploding bodies create a need for immediate retreat after each strike. Later, Keese appear in groups that make movement more stressful than it first seems. These creatures do not merely exist to slow progress; they reinforce the dungeon’s sense of volatility. Their placement often overlaps with hazards, puzzles, or narrow corridors, making the player weigh speed against safety. The result is a dungeon that feels animated by constant interruptions, but in a way that remains readable and fair.
The Lizalfos encounters and close-range pressure
The Lizalfos battle is one of the dungeon’s most noticeable combat highlights. These agile enemies attack with swords and move with enough confidence to make the encounter feel like a real duel rather than a standard hallway fight. Their strikes can be blocked and answered with deliberate sword swings, and the room design makes the encounter feel intimate, boxed in, and tense. The player has little space to completely relax, which works well for this kind of opponent. Even when the battle is straightforward, the presentation makes it feel important. In the original version, the rewards differ slightly from later revisions, but the core tension is the same: the player is asked to stay composed, defend wisely, and look for openings rather than rush through the fight.
Using fire as a tool instead of a threat
Many dungeons use fire purely as a hazard, but here it also becomes a mechanic the player can turn to their advantage. Lighting Deku Sticks from torches and using the resulting flame to activate statues is one of the clearest examples. This sequence is satisfying because it transforms the environment into part of the solution. The player is not just reacting to danger; they are borrowing it. By lighting specific statues in the cave, they unlock progress that would otherwise remain sealed away. This kind of puzzle design is satisfying in a very tactile way. It asks the player to connect items, fixtures, and room layout into a working chain, and the answer always feels grounded in the world rather than detached from it.
The compass, switches, and layered exploration
Finding the Compass in Dodongo’s Cavern is a good example of how the dungeon likes to hide useful rewards behind short sequences of discovery. A breakable wall leads to a trapped-looking alcove, but the room is really about reading the space and responding to what is missing or blocked. Armos statues complicate the area and create a small burst of threat, yet the puzzle remains focused on observation and execution. Elsewhere, switches in the floor and movable statues repeatedly force the player to step back, re-evaluate the room, and understand how one action changes another area. The dungeon rarely asks for a huge solution all at once; instead, it strings together compact goals that build toward a larger path upward and deeper inside.
The rise to the upper floor
As the route climbs higher, the dungeon becomes more architectural and more deliberate in how it guides the player. A large green platform surrounded by Bomb Flowers transforms into stairs after a sequence reaction, which feels like one of the more dramatic moments in the cavern. The visual change is immediate and satisfying, turning an inert structure into a new route with very little wasted motion. This climb marks a shift in the dungeon’s pacing as well. The player is no longer simply moving through lower chambers and side rooms; they are now gaining access to the upper levels where the layout becomes more complex. The vertical progression gives the cavern a stronger sense of place, making it feel like a constructed interior rather than a loose string of rooms.
Bridge crossings and ceiling threats
The upper routes introduce a more precarious style of movement, especially across wooden bridges and narrow platforms. Fire Keese make these sections feel risky, since the player can lose focus while crossing and end up taking unnecessary damage. The game wisely mixes visual danger with practical danger here, as the bridges themselves look fragile enough to invite caution. In one of the more memorable areas, the ceiling eye mechanism adds another layer by requiring the player to stop the flames before crossing safely. This is an elegant example of dungeon logic: a problem is visible, a mechanism is nearby, and the solution comes from understanding how the room behaves. The result is a sequence that feels integrated rather than arbitrary.
Bomb Bag reward and inventory growth
Receiving the Bomb Bag is a major turning point in the dungeon’s progression. Up to this point, Bomb Flowers have been the main explosive resource, limited by the room and its respawning mechanics. The Bomb Bag changes that pattern and gives the player direct control over explosives, effectively expanding how the world can be approached from that moment onward. It is a strong example of item progression tied to dungeon structure. The reward is practical, instantly useful, and perfectly aligned with the role bombs have already played in the cavern. It also shifts the player’s mindset for future challenges, because now structural obstacles, distant targets, and hidden barriers can all be considered with more flexibility and confidence.
The skull chamber and the route to the boss
The final stretch of Dodongo’s Cavern leans into the dungeon’s most striking visual motif: the giant skull-shaped chamber. Before reaching the boss, the player has to clear the eye openings with Bombs, uncover hidden pathways, and manage the interior route with care. This part of the dungeon feels especially theatrical, as if the environment itself is signaling that the journey is nearing its climax. The rooms surrounding the skull use crates, ladders, and repositioned boxes to create a sense of deliberate engineering. Nothing is accidental here. The player is asked to think about small physical interactions, where boxes can be moved, where a jump will land, and how each object contributes to opening the next door. It is an excellent bridge between puzzle-solving and the looming boss encounter beyond.